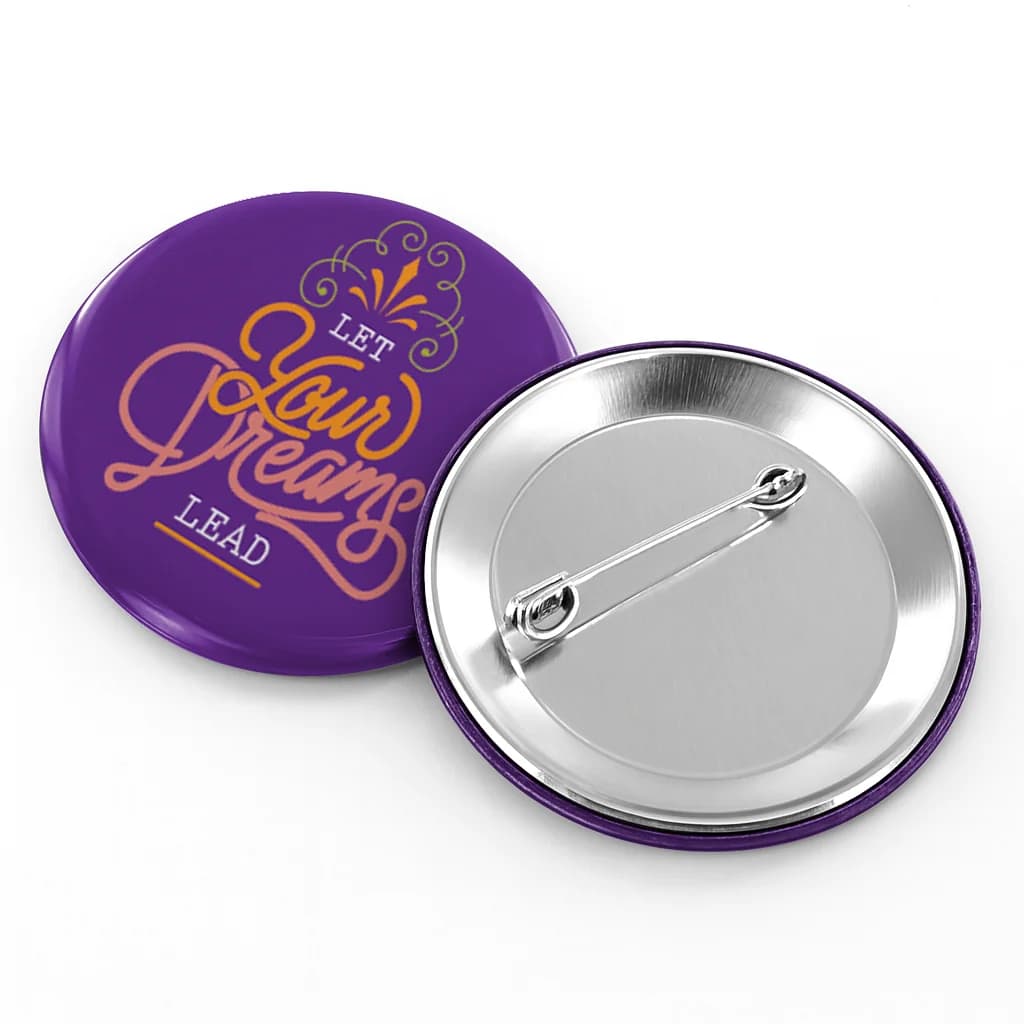
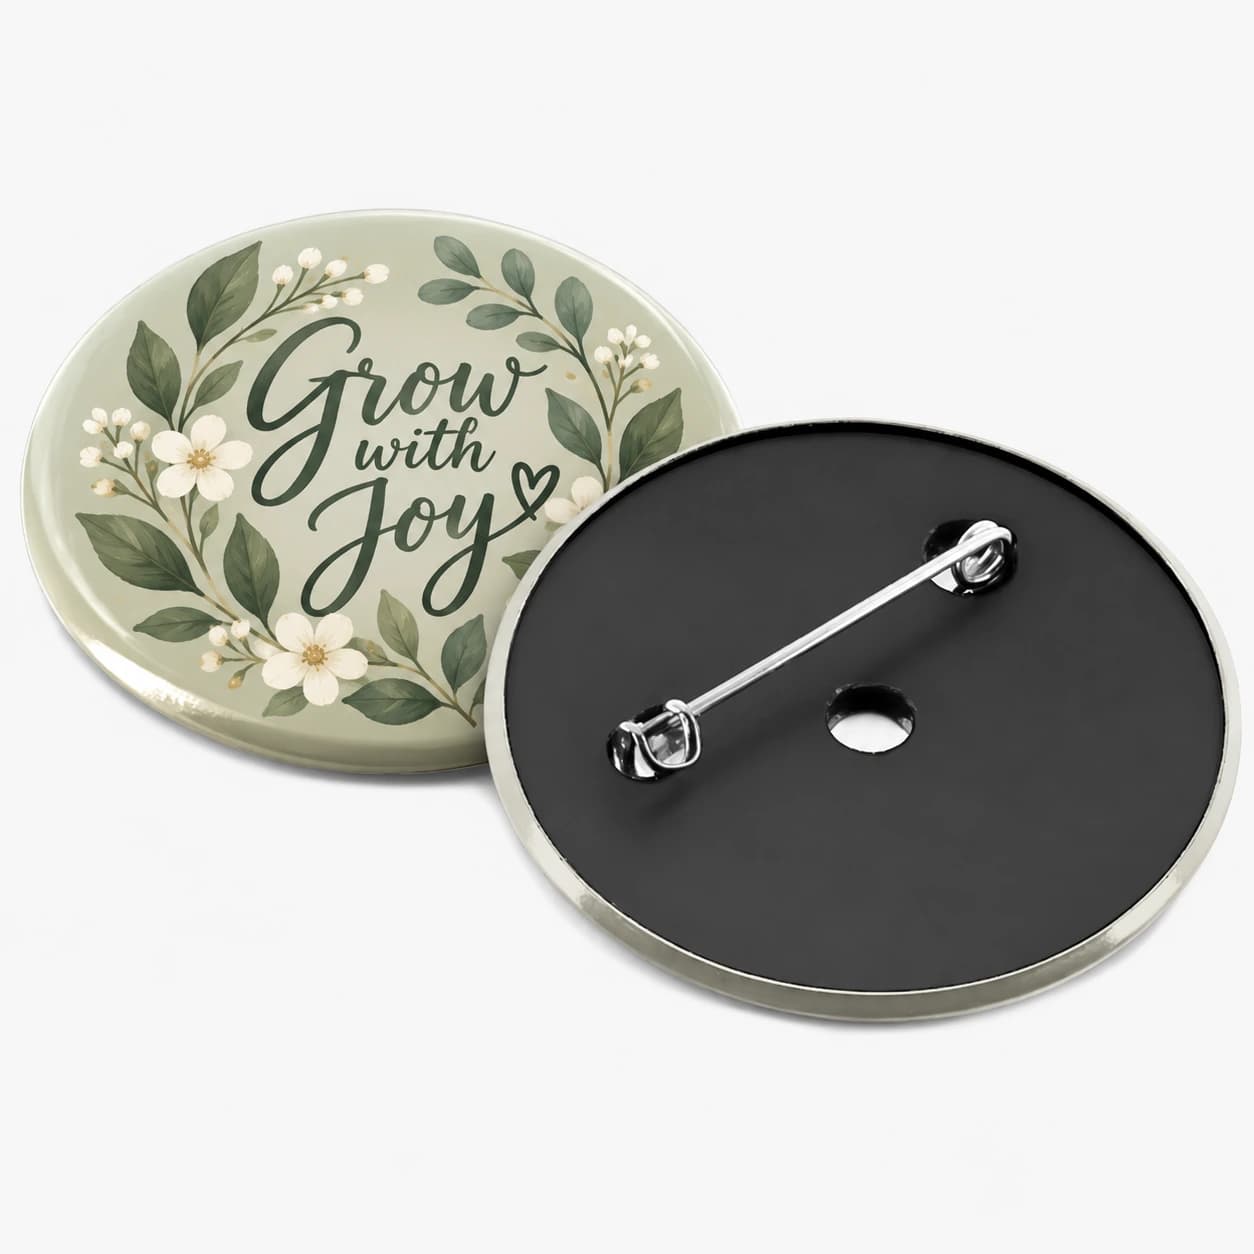
How to Prepare Artwork for Custom Buttons
Print-ready files save rework. Use these format, bleed, and type-size rules before you upload artwork for custom pinback buttons.
On this page
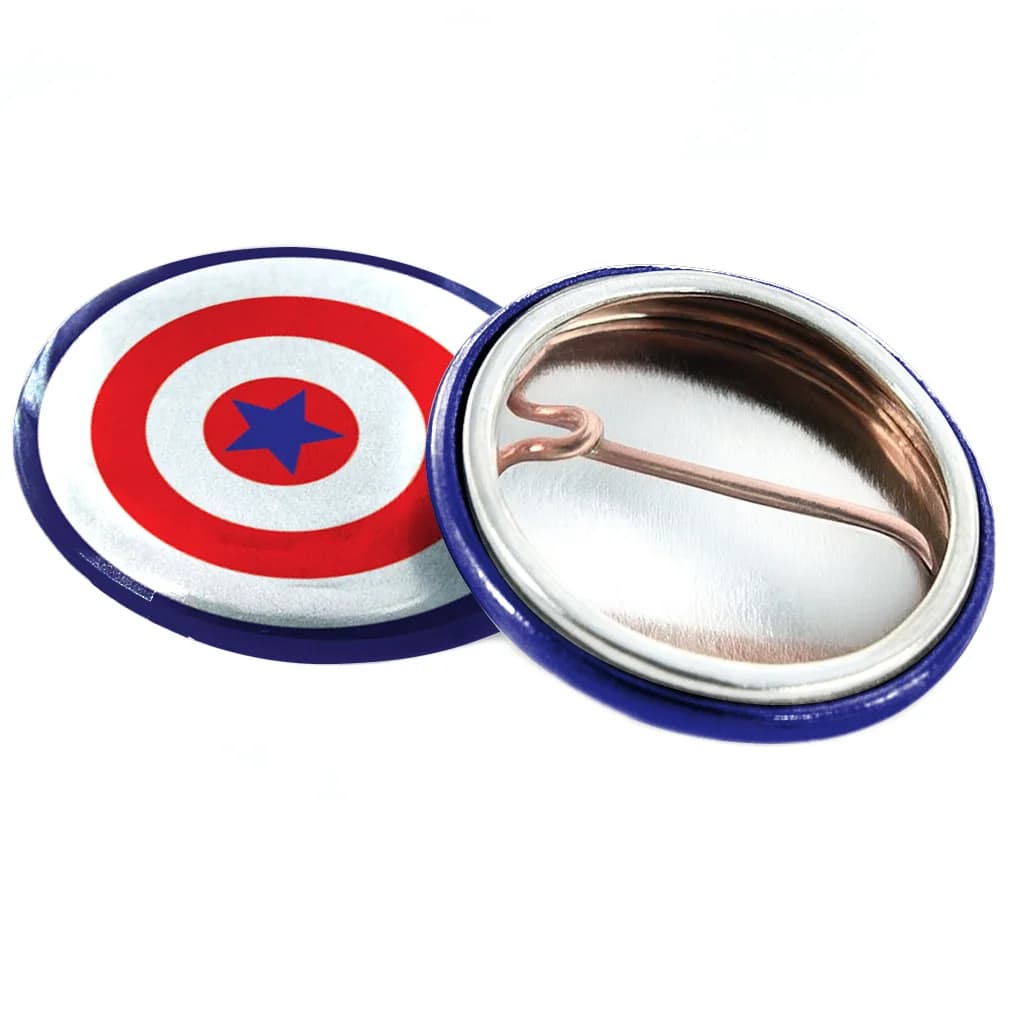
Learning how to prepare artwork for custom buttons is mostly about precision. Flat art has to be printed, cut, wrapped around curved edges, and pressed cleanly into a finished pin — so dimensions, contrast, and file setup matter as much as the design itself.
This guide is for artists, designers, campaign teams, and anyone preparing digital artwork for custom button printing at BigDogButtons by Copyland. It focuses on print-ready files for professional orders — not the full shop-floor process of assembling buttons.
What you will learn:
- How to choose the right button size and shape
- How to create a readable button design at a small scale
- How to set up bleed, safe zone, cut line, and color
- How to save, upload, and submit artwork for a custom button order
Choose your button size and shape
Before you create custom buttons, define the exact size and shape. Button size controls your layout, font size, image area, and how much artwork wraps around the shell.
BigDogButtons offers common round sizes such as 1", 1.25", 1.5", 1.75", 2.25", and 3" pinbacks, plus oval and other catalog shapes. The 2.25" round button is a popular choice for campaigns, schools, trade events, and promotions — and one of the most common sizes for bulk custom button orders. Square and specialty shapes are also available in select sizes; shape matters because corners, curves, and the edge affect where the paper bends.
If you are still deciding on diameter, compare options in the button size guide and browse pinned back buttons in the catalog before you export final art.
Custom button design is divided into three critical areas:
| Area | What it means |
|---|---|
| Safe zone | The inner area where the main design should live. Keep all text, logos, and critical imagery inside it. |
| Bleed area | The outer ring that wraps around the metal edge. Fill the entire bleed with background color or pattern. |
| Cut line | Where the paper is cut for the button. This represents the finished face diameter before the edge crimps. |
Text sizing guidelines
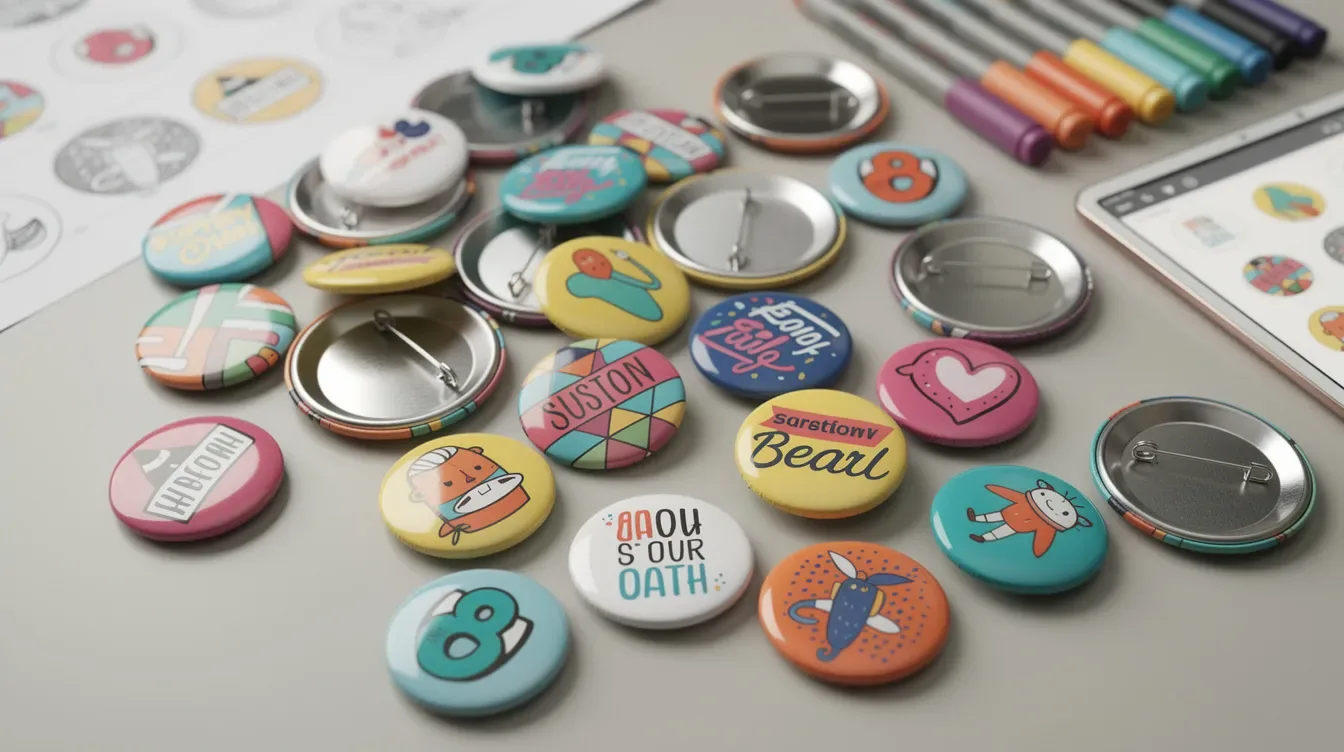
Buttons are small, so contrast and font size are crucial for readability. A design that looks fine on a computer can become crowded after print, cutting, and press work.
For 1.25" to 1.5" custom buttons, use short promotional text — two to four words is often enough. Avoid small script fonts for promotional copy on buttons. Clean sans-serif fonts, bold serifs, and simple graphics usually produce better results.
- Use high-contrast combinations, such as dark text on a light background or light text on a dark background.
- Keep lines at least 0.5 pt thick; avoid thin circular borders near the button edge because minor shifting occurs during pressing.
- Use a logo, icon, or image that is already sharp at print size.
- Place all text and vital graphics inside the safe zone; curve edge text slightly inside the safe zone when needed.
- Account for how flat paper wraps around curved edges, especially near the outside ring.
Bleed, trim, and safe zone
Not all files are created equal. Proper setup helps avoid delays, blurry prints, and cut-off art when working with a professional service like BigDogButtons by Copyland.
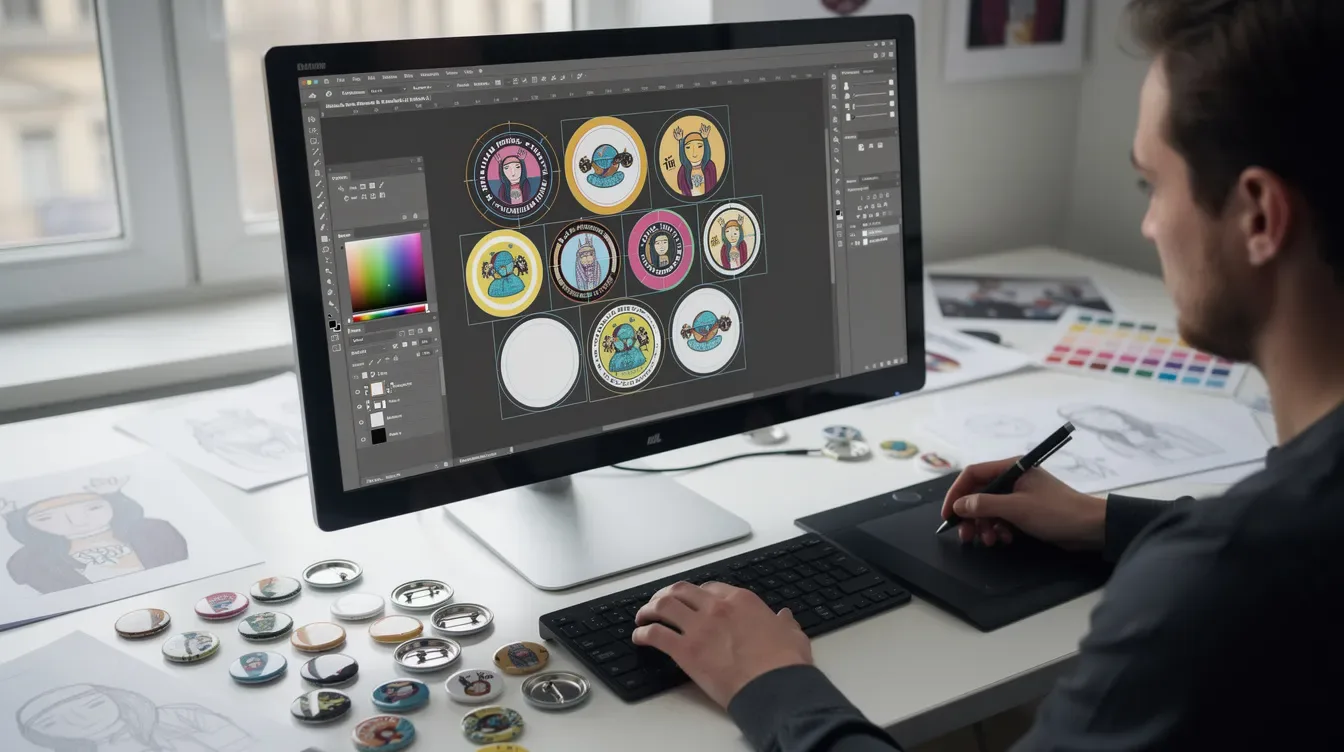
Use a manufacturer template for accurate measurements — whether you work in Adobe Illustrator, Photoshop, Affinity Designer, or another program. Match the template to the exact button size and backing you selected in the custom buttons configurator.
Set up your file with:
- Bleed — extend background color or pattern through the bleed zone so unprinted white edges do not show after cutting.
- Background — fill the bleed line completely; keep background elements at 100% opacity.
- Resolution — create documents at 300 DPI at final print size. Lower resolution can look soft once scaled to a small button face.
- Cut guide — include a 1-point black cut line when requested for accuracy.
- Final cleanup — remove template guides before saving the print file unless prepress asks you to leave a guide layer.
Leaving the bleed empty causes raw paper edges to show at the crimp. BigDogButtons custom buttons are printed on recycled and sustainably sourced papers with US-made steel components.
Preferred file formats
Accepted formats include PDF, AI, EPS, PSD, PNG, and TIFF. A print-ready PDF is usually best for mixed text and graphics; AI and EPS are ideal when sharp vector edges matter. High-resolution PNG or maximum-quality JPEG can work for simple artwork when exported at 300 DPI at final size.
Convert all text to outlines in vector software before export so fonts do not change on another system. If you export from Photoshop, send a flattened print copy rather than only an editable layered PSD.
Do not submit phone screenshots or low-quality JPGs pulled from search results. Large files may require a shared download link — use the website order upload, customer account, or email when needed.
Color and contrast
For professional printing, set color mode to CMYK rather than RGB. RGB colors often look duller once converted for print, so CMYK exports give a more accurate preview of the finished button.
BigDogButtons prints in full-color process. If exact brand colors matter, note Pantone references in your order message — exact Pantone matching may be optional and is not guaranteed in digital printing.
High contrast still matters more than subtle gradients on a small pin. Dark-on-light or light-on-dark pairings survive busy event lighting better than mid-tone palettes.
Proofing before production
BigDogButtons offers free templates for popular sizes. Open the template, place your art on a new layer, and keep the guide layer visible while you design — then hide or remove guides before the final export.
Our graphics team can help with simple resizing, centering, and basic layout. After review, we can send a digital proof. Check spelling, dates, logo placement, and every sign-off detail carefully because the proof shows what will be produced.
When your button design is ready, export at 100% size, 300 DPI, CMYK, with bleed included. Flatten transparencies and effects that may not print correctly. Name each file clearly — for example: Smith-Campaign-2.25in-buttons-July-2026.pdf.
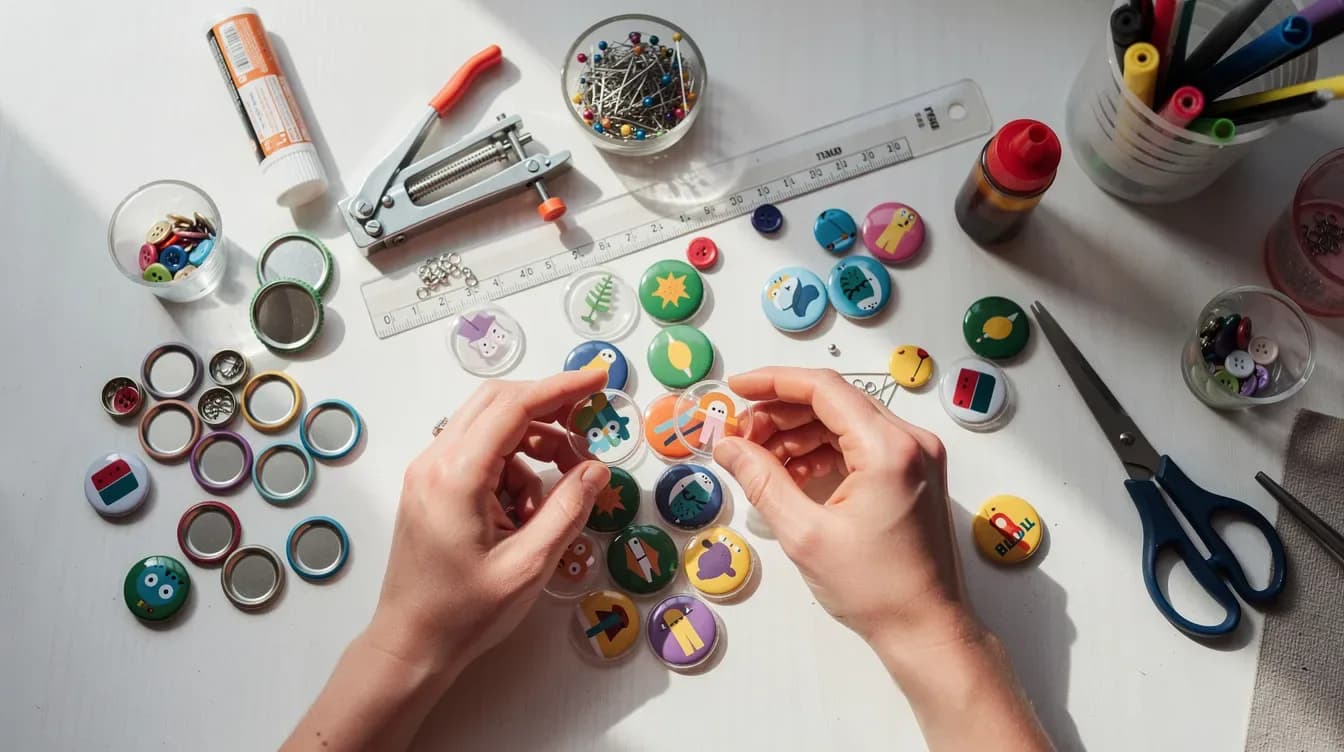
Final checklist before you submit:
- Correct button size and shape selected
- Background extended through the bleed line
- Safe zone used correctly
- Cut line included if requested
- Fonts converted to outlines
- File saved as PDF, PNG, PSD, AI, EPS, TIFF, or maximum-quality JPG
- Artwork at least 300 DPI at final print size
- CMYK color mode selected
- Template guides removed from the final print file
- File name includes project, size, and date
Ready artwork keeps production fast, protects quality, and reduces rework. If you have ideas but need help polishing the layout, upload your art and request a digital proof before bulk custom buttons or rush custom buttons production begins.
Frequently asked questions
- What DPI should my artwork be?
- Export at 300 DPI at the final print diameter — for example, a 2.25 inch button needs roughly 675 pixels across. Upscaling a small web image will look soft in print.
- Should I use RGB or CMYK?
- Use CMYK for professional printing. RGB exports often look duller once converted for print, so CMYK gives a more accurate preview of the finished button.
- What file format is best?
- Print-ready PDF is usually best. AI, EPS, PSD, PNG, and TIFF are also accepted when exported at sufficient resolution with fonts outlined or embedded.
- Can I use Canva or Google Slides exports?
- Yes, if you export PDF or PNG at sufficient resolution with fonts embedded or outlined. Avoid screen-resolution JPG downloads.
- Will Copyland fix my layout?
- Minor centering adjustments may happen during proofing, but significant redesign is not included. Submit simplified art or request a digital proof before large quantities.
Ready to configure your order?
Upload artwork, pick quantities, and see live pricing in the product configurator.